Natural stone is beautiful and unique — but also expensive and heavy. If you want to incorporate the look of natural stone into your home but your budget is tight, there’s actually a great middle ground in the form of veneer stone. So, what is it, and what are the benefits? Let’s find out!
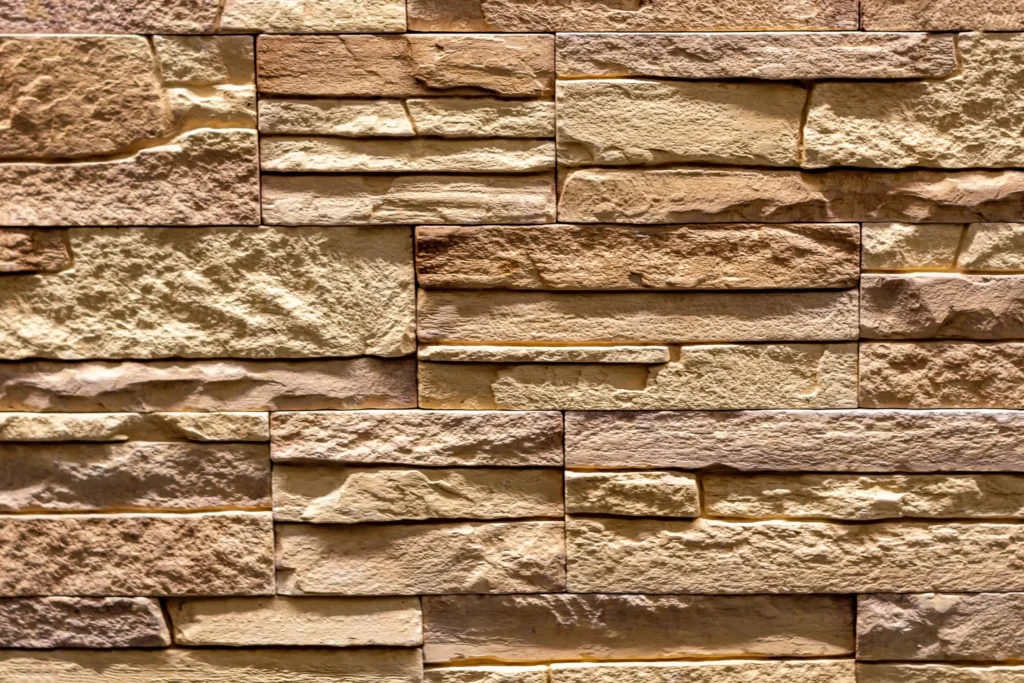
Also called ledger panels or ledger stone, veneer stone consists of thin strips of natural stone adhered to a flexible backing, which can be applied to most surfaces. These panels give the appearance of stacked stone at only a fraction of the price and weight of using full natural stones. In addition, there are tons of different looks and styles to choose from, and veneer stone can be used both indoors and outdoors. The stones themselves can be anywhere from 1/8”-1” thick, and the panel can either be covered in stones of the exact same size and color, or it can have stones of varying widths, thicknesses, and hues. It all depends on the look you want to create, and the options are seemingly endless.
Because only small pieces of natural stone are used in a single sheet of veneer stone, the overall material is a lot lighter. In a sense, it’s basically like a large wall tile and is installed much the same way. However, it’s important not be fooled by manufactured stone veneers. It might sound the same, but this material actually doesn’t use any natural stone at all, but rather a composite material that is molded and painted to look like stone. Although it tends to be even lighter than natural veneer stone panels, the color fades over time and the material is much more susceptible to wear and tear, especially when used outdoors. Natural veneer stone panels used to be more expensive, but modern cutting techniques have greatly driven down the cost such that there is very little difference between it and manufactured stone veneers. So, do yourself a favor and don’t choose the fake stuff. Real stone wins in beauty, durability, and in value, so why would you compromise?
Why Choose Stone Veneer
Provides the look of natural stone at a fraction of the cost and weight
Available in many styles, sizes, and colors for endless design options
Can be used both indoors and outdoors
Real stone veneer is more durable and longer-lasting than manufactured alternatives
Modern cutting techniques make natural veneer affordable
How to Install Natural Stone Veneer Panels
Installing veneer stone is somewhat similar to installing wall tile. If you’re planning on installing it over a cement wall, then you’re in luck — veneer stone can be installed directly onto this surface, as long as it’s impeccably clean and free of any oils or other release agents. If you’re installing veneer stone onto any other surface, however, know that it’s a labor-intensive process that requires several steps and ample time to complete. So, unless you’ve installed stone or tile before, you might want to leave this job to the professionals.
The general process for installing veneer stone is to first prep your surface by installing a weather-resistant barrier, such as tar paper, and then installing a metal lath over it. If you’re installing the veneer stone indoors, you can install metal lath directly into sheetrock. Next, you’ll need to put a scratch coat of a mixture of masonry cement and sand over the metal lath. For this job, you’ll need to use a masonry trowel, which has ridges and creates a textured surface for the veneer panels to adhere to. After this scratch coat has dried for about a day, you can apply the veneer stone using mortar. Once the mortar dries and the veneer are secure, you’ll grout between the stones. This is easiest to do by piping grout out of a grout back, which is sort of like frosting a cake. As the grout dries, use a joint tool to smooth everything out. After the grout has dried completely, brush away any loose material and clean the stones using a soft bristle brush, and then a damp cloth to clean away dust and fine debris.
Best Places to Use Stone Veneer in Your Home
So, where can you use veneer stone? Pretty much anywhere! These panels can be installed on fireplaces, around kitchen islands or outdoor retaining walls, as a surround for the exterior of your home, on an accent wall (indoors or outdoors), kitchen, bathroom or shower wall. They can also be used as a kitchen backsplash or as a lining for your vestibule. Of course, you can always get more inspiration by checking out some of our veneer stone options here and by dropping us a line so we can help plan out your next project.