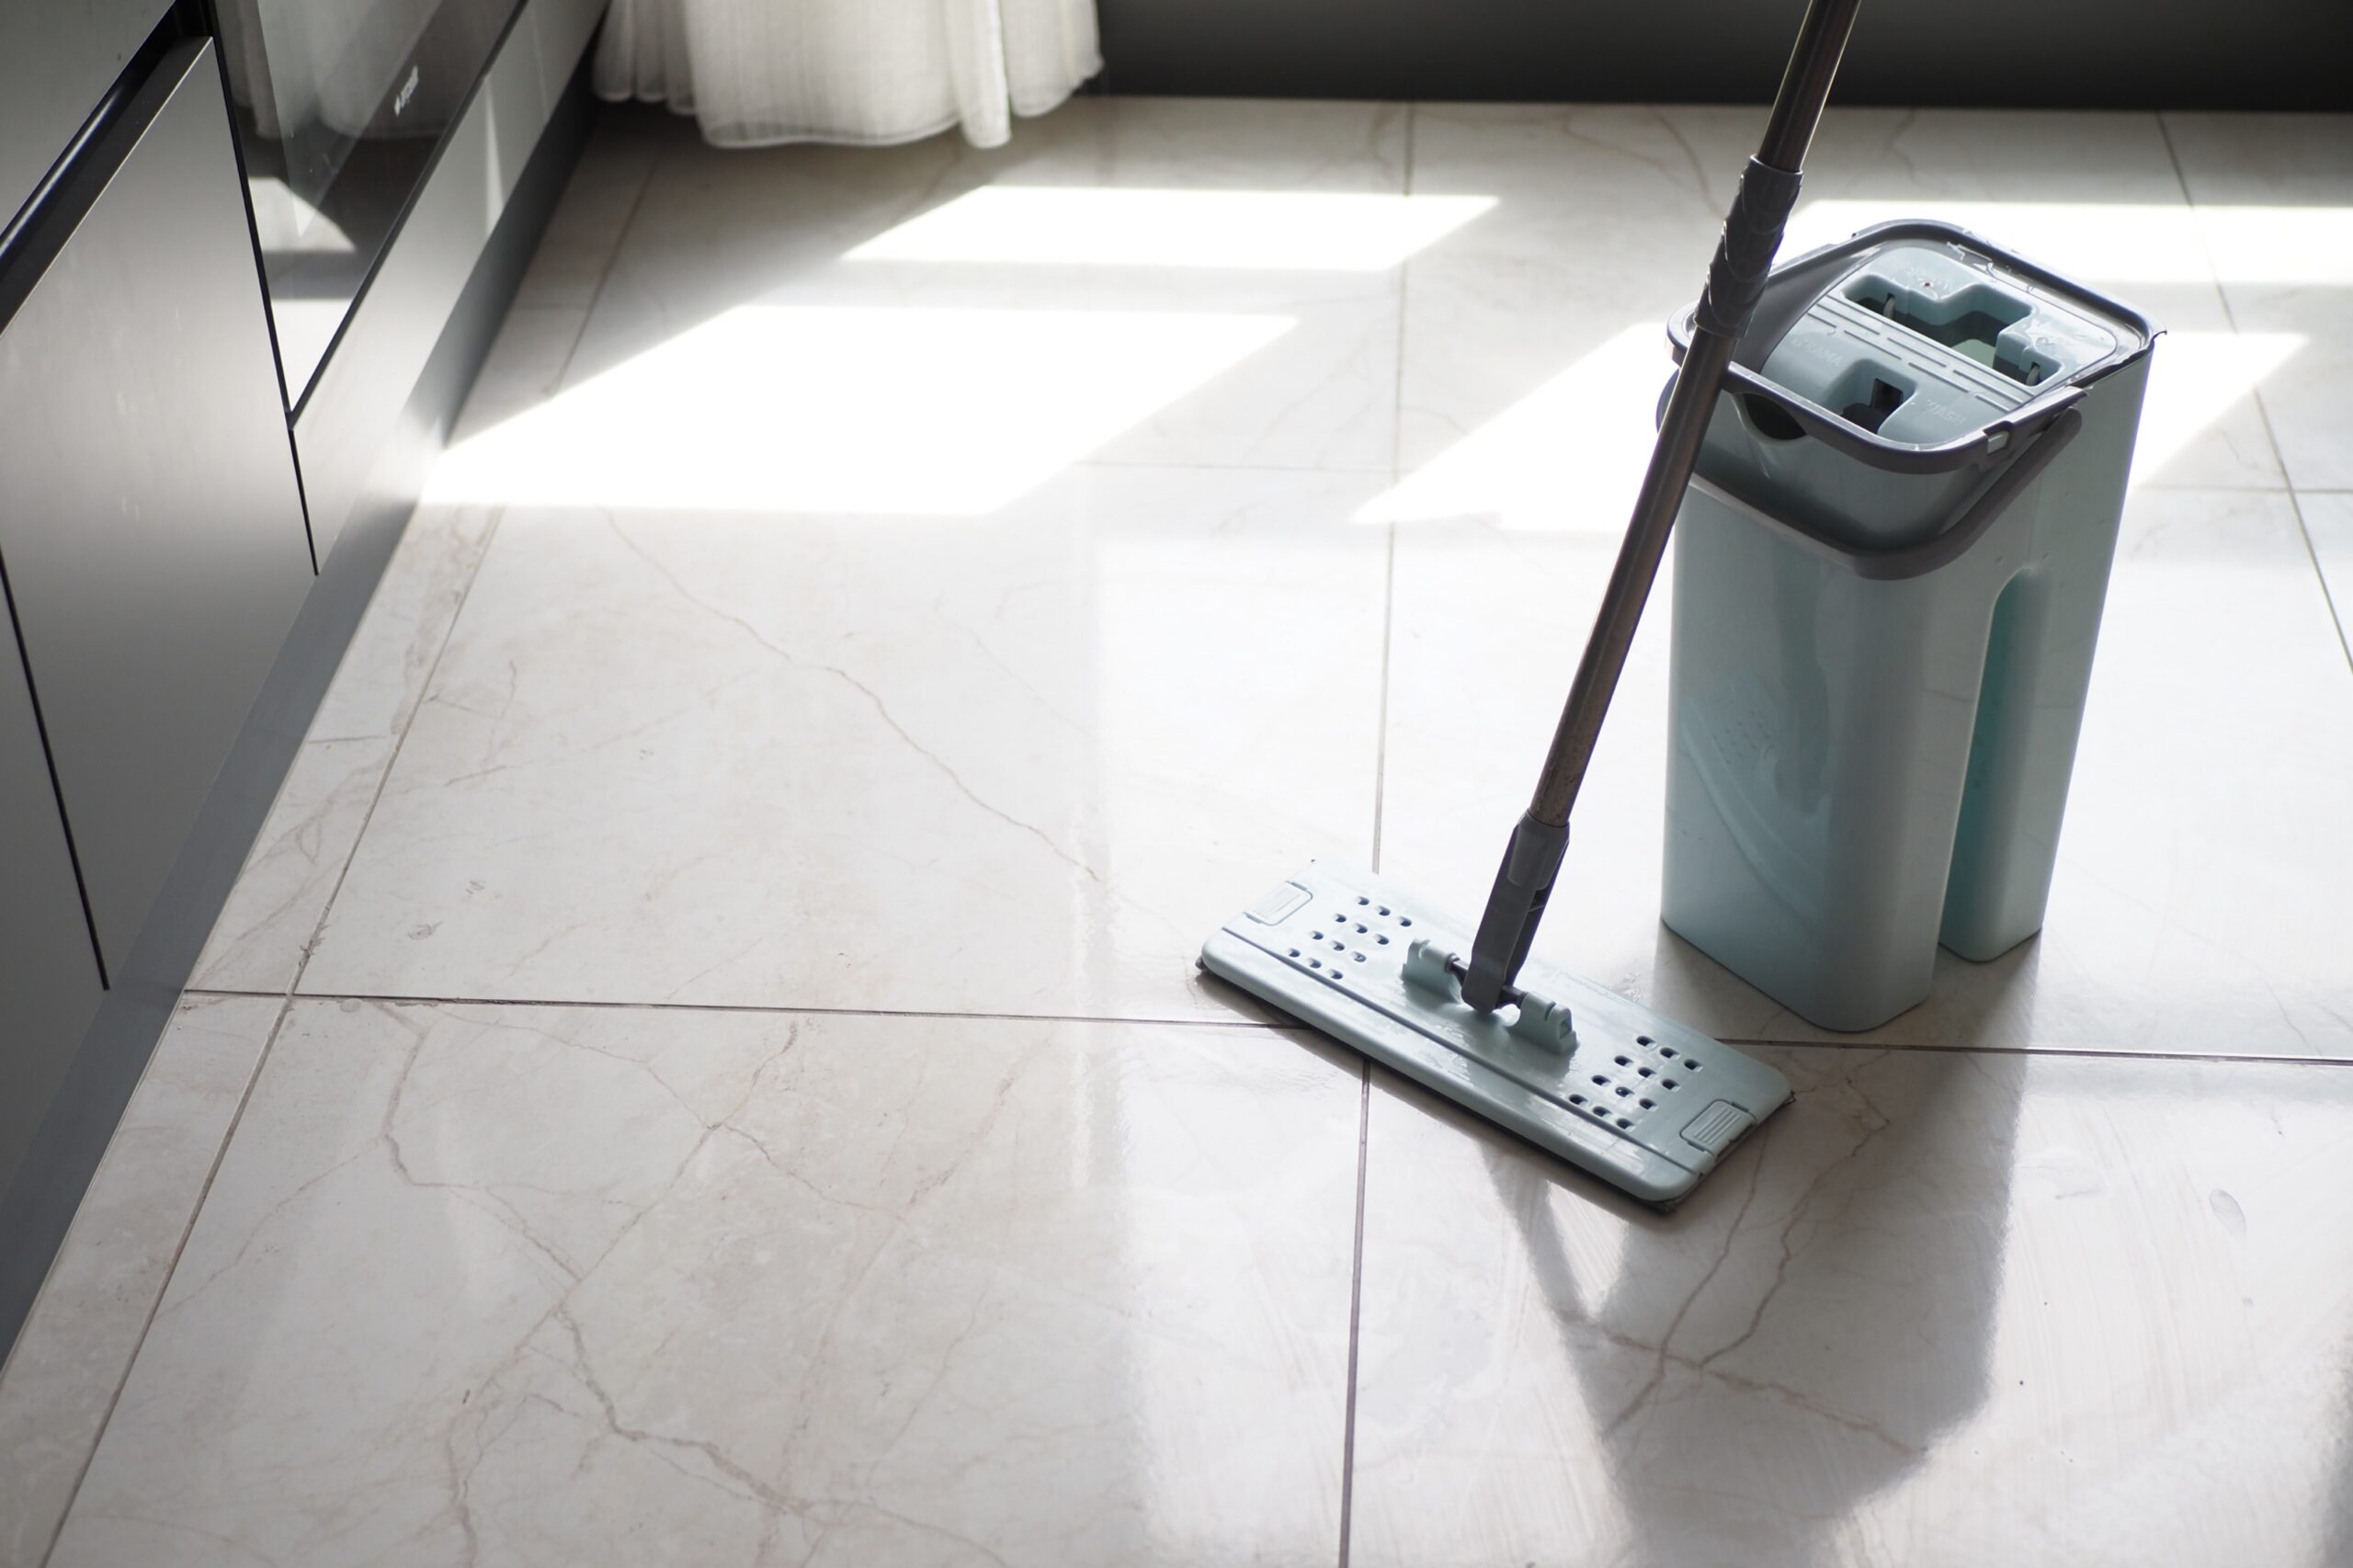
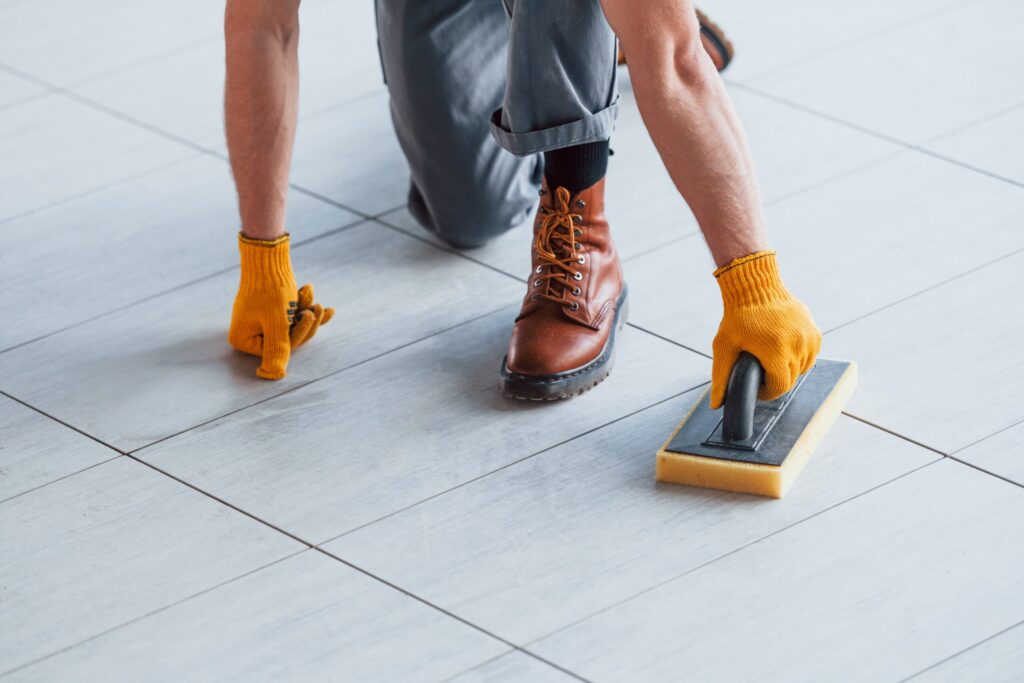
To keep your space looking cozy and new, it is essential to know how to clean floor tiles. It depends on many factors, including the type of room, the type of flooring, and so on. It is worth noting that this doesn`t require expensive materials. All you need is consistency and knowledge of a few important factors, which will be described below.
Different Types of Tiles and How to Care for Each
Each type of tile takes its own approach to cleaning. There are no universal rules, so choose products that are suitable for specific materials.
| Tiles Type | Tile Floor Cleaning Tips |
| Ceramic tile | It is durable and moisture resistant, so use mild detergents for cleaning. Also, don’t forget to clean the seams regularly. |
| Porcelain stoneware | Use a soft brush, mop or cloth for cleaning porcelain tiles. Although it is resistant to various aggressive substances, choose cleaning products carefully. |
| Vinyl | Standard cleaning, without hot water or strong solvents. |
| Marble | If you spill something, wipe up the stains immediately so that they don`t have time to soak into the stone. For prevention, wipe the floors with a dry or damp sponge. |
| Laminate flooring | It is recommended to wipe this type of floor with a slightly damp cloth, dipped in water at a temperature of 30-40 degrees. Before doing so, be sure to vacuum the floor to avoid scratching the laminate with dust, large debris, and other particles. |
| Glass tile | Caring for glass floors includes ensuring adequate ventilation in the shower and wiping stains with a sponge or cloth. It is best to purchase a special cleaning product for such surfaces. |
If the floor is non-standard, you can test a particular cleaning product first. To do this, use it on a small area and wipe it off. This doesn`t apply to the tile care routine, as it is sufficient to determine which product is suitable to use in the future.
Easy Daily Habits to Maintain Sparkling Floors
How to keep tiles shiny? To achieve this, it is sufficient to regularly perform simple cleaning actions using the appropriate products. In addition to understanding the type of floor and adapting your cleaning floor tiles routine accordingly, it is important to deep clean once a week:
- Start with preparation. Carefully remove all furniture, vacuum, and remove all dust.
- Remove stains. If the stains are stubborn, you may need a solution of baking soda and water. Just leave it on for 10 minutes, and it will work effectively.
- Floor cleaning. Use a special mild detergent and a microfiber mop. It is recommended to wash floors using circular motions.
- Wipe with a dry cloth. If you have laminate flooring, it will also be useful to apply a protective spray, which will prolong its original appearance.
Many people use this tile cleaning guide, allowing them to enjoy cleanliness in their home or commercial premises. This step-by-step approach can be applied not only to the bathroom, but also to the kitchen, bedroom, etc.
Daily habits can also make life much easier. For example, by not wearing shoes around the house, you can reduce dirty floors by 80%. Daily light cleaning, even after showering, prevents the accumulation of dirt. This routine can be compared to brushing your teeth, which helps prevent complications.

Helpful Answers to Common Questions About Tile Care
Everyone is interested in – how to remove stains from tiles? There are various methods, including using a steam cleaner or an electric brush. These gadgets will help you clean the tiles in your bathroom quickly and effortlessly. If you don’t have these devices, use a soft but firm brush with a handle. It is convenient for cleaning not only floor tiles but also wall tiles. It will effectively remove dried dirt and other contaminants.
Another popular question is how to avoid floor stains? Most often, they can be seen when the floor has not been wiped dry after wet cleaning. To prevent streaks, use a microfiber cloth. Also, a lot depends on the type of floor. Read the instructions for each cleaning product and be sure to wear gloves when washing floors.
How to choose the right floor cleaning products. There are products that do more than just clean dirt off the floor. They create an invisible film that maintains shining and protects against stains. To achieve sparkling, use synthetic products containing silicone, but with an eco-friendly composition to avoid allergies.
Final Thoughts on Keeping Your Tiles Spotless
In conclusion, it is worth noting that cleaning ceramic tiles will differ from caring for laminate or other materials. If you want your room to become shinier, remember not only to wash the floor, but also to clean the joints. They can be washed using a solution of baking soda or hydrogen peroxide.
To prevent moisture absorption, natural materials should be sealed. Before choosing and purchasing tiles, find out how they should be cleaned. This will help you understand whether you are ready to care for them properly, because the more careful the care, the longer they will retain their shine.
FAQs
Tile Comparison: Glazed Vitrified vs Double Charge
There is often a dilemma about which flooring material to choose. Among the most popular are glazed vitrified and double-charged tiles. Their features and differences are discussed below.
| Characteristics | Glazed Vitrified | Double Charge |
| Design | A wide range of textures and colors, allowing you to choose the best option for any interior. | You can only choose solid colors or patterns, so there are some limitations. |
| Durability | Durable, but avoid strong impacts, as they can cause the top layer of the floor to crack. | Very high strength, which is why the material is used in places with high foot traffic. |
| Sliding | It can be slippery, especially if it is glossy. A matte surface resists slipping a little better. | No glossy surface, therefore better slip resistance. |
| Installation | Simple, considering its relatively light weight. | It is more difficult to install because this material is denser and heavier. |
The aesthetic appeal of this material also varies. If you prefer a restrained look and moderate elegance, the double charge is for you. Otherwise, take a look at glazed vitrified, as this flooring is characterized by its bright design.
Choosing the Right Front Elevation Tiles for Your Home
Facade tiles are designed for cladding houses, so it is important to consider more than just aesthetics when choosing them. Pay attention to:
- Strength, safety, and durability. Familiarize yourself with the characteristics of different materials. Facade tiles must be able to withstand heavy mechanical loads and varying climatic conditions.
- Aesthetic appearance. It is important to remember the right design decisions. For example, it is best to combine two shades, but in moderation. When it comes to cool colors, they can look gloomy when used over a large area.
- Easy to maintain. In most cases, facade tiles don’t need any special care, but you should still learn about the features of a particular material before buying it.
- Surface type and installation features. The surface can be smooth or textured. First, you need to make sure that the type of tile is suitable for installation in your facade.
Next, you need to take care of the correct laying of the tiles. This process requires skill and precision. It’s best to call in the experts to reliably clad your facade.
Why Tiles Are a Great Choice for Kitchen Floors
The kitchen is an important part of any home, so you want to ensure maximum comfort here. By choosing the right floor, you can form a beautiful design and simplify daily tile maintenance. While tile installation may be costly at first, it is a worthwhile investment in the long run.
The kitchen is where cooking, eating, and so the likelihood of stains, grease, and other contaminants is higher. Tiles are the best choice in this respect, as they have an assertive structure. This makes it easy to clean and doesn`t absorb moisture.
Tiles come in a variety of designs, so you can choose the best option for your walls and future furniture. Tiles have a longer service life than linoleum and parquet flooring. They can last up to 50 years.
Since you go into the kitchen every day, you need to think about practicality. Tiles are convenient because they don`t conduct electricity, don`t generate static, and don`t collect dust as much. This makes it easier to keep them clean.
Full Body Tiles: A Durable Option for Countertops
If you are choosing a countertop and looking for a reliable material, consider full-body porcelain stoneware. Its special treatment increases its strength and resistance to cracking. You won’t need to spend a lot of time searching for the best way to clean tiles, because maintenance is as simple as possible. To remove dirt and enjoy a clean countertop, simply use a clean cotton cloth dampened with water. This ease of care has a positive effect on health, as grease and any other impurities will be quickly removed.

