When planning a kitchen remodel, it is essential to be meticulous and pay close attention to every detail. During the renovation process, taking accurate measurements that account for structural elements, ventilation needs, and building codes will save you time, money, and stress.
Pre-Measurement Preparation
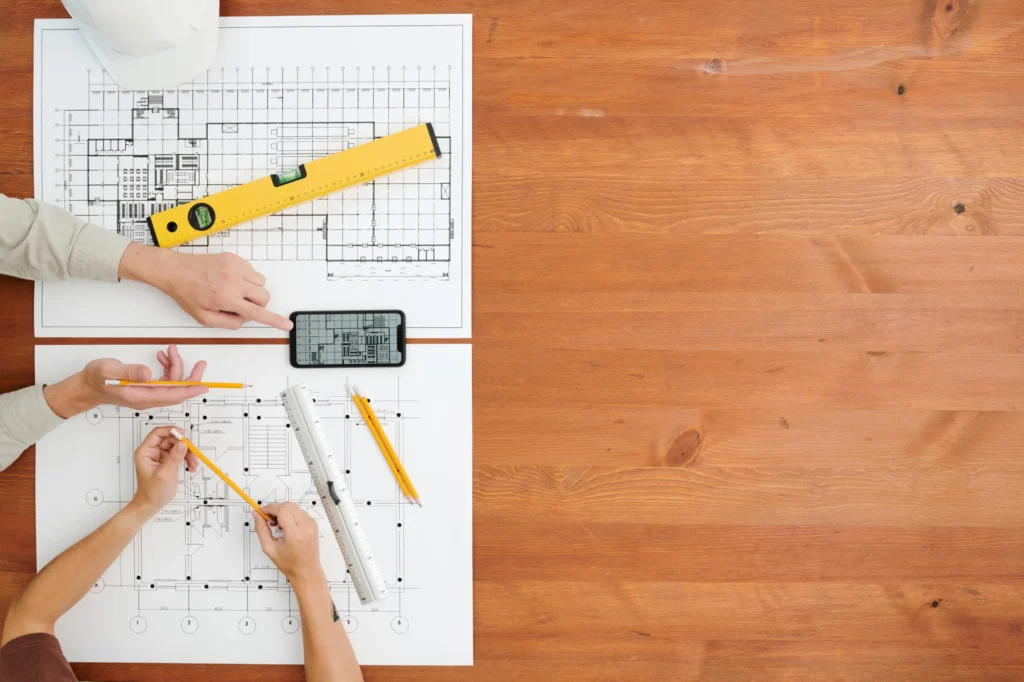
The right tools make the difference between amateur guesswork and measurements that are as good as a professional’s.
Essential Tools and Materials
For a complete kitchen measurement, you need these things:
- A steel measuring tape that is 25 feet long.
- A laser tool for measuring long distances and places that are hard to get to.
- Level the area (at least 4 feet) to ensure the walls are straight and the floors are level.
- Graph paper or a digital sketching app for drawings that are to scale.
- A digital camera for taking pictures of how things are now.
- A pencil, an eraser, and a clipboard for taking notes.
- A flashlight and a step ladder for getting to all areas safely.
These tools enable you to measure both basic dimensions and subtle imperfections that can affect the appearance of your design.
Creating Your Measurement Strategy
Do this step-by-step:
- Begin with the overall size of the room, then move on to the specifics.
- To maintain consistency, work your way around the room in a circular pattern.
- Write down the structural parts of the building, such as columns and walls that hold up weight.
- Take note of the locations and exact measurements of all the windows and doors.
- Take note of the locations of the plumbing fixtures, electrical outlets, and switches.
- Take pictures to accompany your written measurements.
Understanding Kitchen Dimensions and Layout
Understanding how standard layouts function can help you identify opportunities and limitations in your space.
Standard Kitchen Configurations
Depending on your space and needs, the most common kitchen layouts have their own pros and cons.
- Galley kitchens are typically 7 to 12 feet wide and feature counters that run parallel to each other. They are great for small spaces, but you need to plan the traffic flow carefully.
- A L-shaped kitchen utilizes two adjacent walls, making the work triangle more efficient and allowing for a dining area.
- The U-shaped kitchen features three walls that provide ample storage and counter space. It’s great for professional cooking, but it needs to be wide enough to accommodate larger ingredients.
- Island kitchen adds a central work surface, but all sides must be at least 36 inches clear to ensure proper traffic flow.
Work Triangle and Traffic Flow Principles
The classic work triangle makes it easy to get to your stove, sink, and refrigerator. Modern kitchens take this idea further by adding more work zones, but keeping steps between areas that are often used to a minimum is still essential for functionality.
Measuring Kitchen Dimensions Step-by-Step
This methodical approach ensures you gather all the information that affects design and installation.
Room Perimeter and Basic Dimensions
Because walls can settle and vary in height, measure each wall from corner to corner at a height of 36 inches (counter height).
Measure the height of the ceiling in several places, as older homes often have variations that can affect how cabinets are installed. Standard kitchen cabinets are made for ceilings that are 8 feet high, so you need to plan if your ceiling is higher or lower.
Measuring Irregular Spaces
When working with angled walls or bay windows, create detailed drawings that illustrate how the various parts fit together. To find exact positions, measure from several reference points to triangulate them. It ensures that the results are accurate and consistent.

Dealing with Structural Elements: Columns and Load-Bearing Walls
Most of the time, load-bearing walls run across floor joists and support the structural components above. It’s clear that columns and posts are integral to the structure and can’t be removed without considering their impact on the building. Write down the exact sizes and locations of the items in relation to the walls of the room.
With the proper planning, structural elements can become design elements. Consider installing cabinets around columns to create built-in storage, or use them to separate different areas of the kitchen. Measure carefully so that your design complements these elements, rather than competing with them.
Window Measurements and Considerations
For effective planning, you need to take numerous measurements of the windows. For each window, you need to write down:
- Overall rough opening size (height and width).
- Height of the window sill from the finished floor, depth, and projection of the window sill into the room.
- Details about the trim’s size and style.
- Distance from walls or corners next to it.
- Any working hardware that affects the space around it.
Windows have a significant impact on how things function and their appearance. Plan your work surfaces to receive natural light for cooking, but avoid placing your main sink directly under a window if it obstructs your work area.
Ventilation Planning and Measurements
To work effectively, range hoods should extend 3 inches on each side of the cooktop. The bottoms should be 24 to 30 inches above electric cooktops or 30 to 36 inches above gas ranges. These clearances have a significant impact on cabinet planning, so it’s essential to consider them early on.
Take measurements of the current ductwork’s size and location, and note any obstacles that may hinder the installation of new ductwork.
Consider the route from your planned location to the outside wall, taking into account any turns that may reduce the effectiveness of airflow. Straight runs are best, but gradual bends are better than sharp 90-degree angles.
Electrical and Plumbing Measurement Considerations
Power planning is a crucial consideration to keep in mind, as modern kitchens require significantly more electrical capacity than older homes can provide.
The current electrical codes require GFCI protection and specify minimum numbers and distances between outlets. When you know what you need to measure, you can plan realistic layouts.
Some critical electrical and plumbing code requirements that affect measurements are:
- GFCI outlets must be within 6 feet of sinks.
- At least two 20-amp circuits should be set aside for countertop outlets.
- Countertops should have outlets no more than four feet apart.
- Dishwashers and garbage disposals need their own circuits.
- There must be at least 30 inches of space in front of electrical panels.
These requirements have a direct impact on the layout of cabinets and the placement of appliances.
Standard Measurement Mistakes to Avoid
You should be very careful to avoid these common mistakes because they can cause significant problems with installation:
- Taking for granted that walls are straight and square without checking.
- Only measuring at one height and not noticing wall problems.
- Not taking into account the thickness of the drywall when planning tight fits.
- Not rechecking necessary measurements before placing an order.
- Not paying attention to the space needed for doors and drawers to open.
- Not following building codes for electrical and ventilation.
- Not taking pictures of the current state of things.
Homeowners can perform simple measurements, but it’s best to have a professional inspect them for more complex renovations. Contractors know how to identify problems and suggest solutions that maximize space utilization while staying within budget.
Recording and Organizing Your Measurements
Organized documentation turns raw data into valuable tools for planning. Maintaining accurate records enables contractors and suppliers to thoroughly understand your vision and requirements.
Documentation Methods
| Method | Advantages | Best For |
| Hand-drawn sketches | Quick, no technology required | Initial measurements, field notes |
| Graph paper plans | Accurate scaling, easy to modify | Design development, contractor communication |
| Digital apps | Professional appearance, easy sharing | Final documentation, supplier quotes |
| CAD software | Precise dimensions, 3D visualization | Complex projects, design professionals |
| Photo documentation | Shows existing conditions clearly | Reference during installation and problem-solving |
Measurement Sheet Organization
Create standard measurement sheets that always include all the necessary information. Include areas for the size of the rooms, the structural elements, the locations of windows and doors, the plumbing and electrical fixtures, and any other important notes about the current state of the building.
Date your measurement sheets and make several copies to take with you to the field. Conditions can change during renovation, and having backup documentation is extremely helpful when questions arise.
Professional Integration and Next Steps
Kitchen designers and builders must take accurate measurements to create layouts that function effectively and provide accurate estimates. Your thorough documentation demonstrates that you are a professional and helps contractors understand the level of care you take in the details.
Share measurements in a well-organized way that professionals can easily understand and build upon. Clear documentation reduces misunderstandings and ensures that your vision is effectively conveyed throughout the design and construction phases.
Moving Forward with Confidence
Accurate kitchen measurements are the foundation for making informed decisions during your renovation. You can move forward with confidence, knowing that your design will fit perfectly if you know the exact measurements of your space and understand its limitations.
Keep in mind that measurements are not set in stone and may need to be adjusted as your project progresses. Be flexible while maintaining accuracy, and don’t hesitate to measure again if you have any questions during the construction process.